Tag: SimpleCooking

  • Rustic Focaccia Bread

    Rustic Focaccia Bread

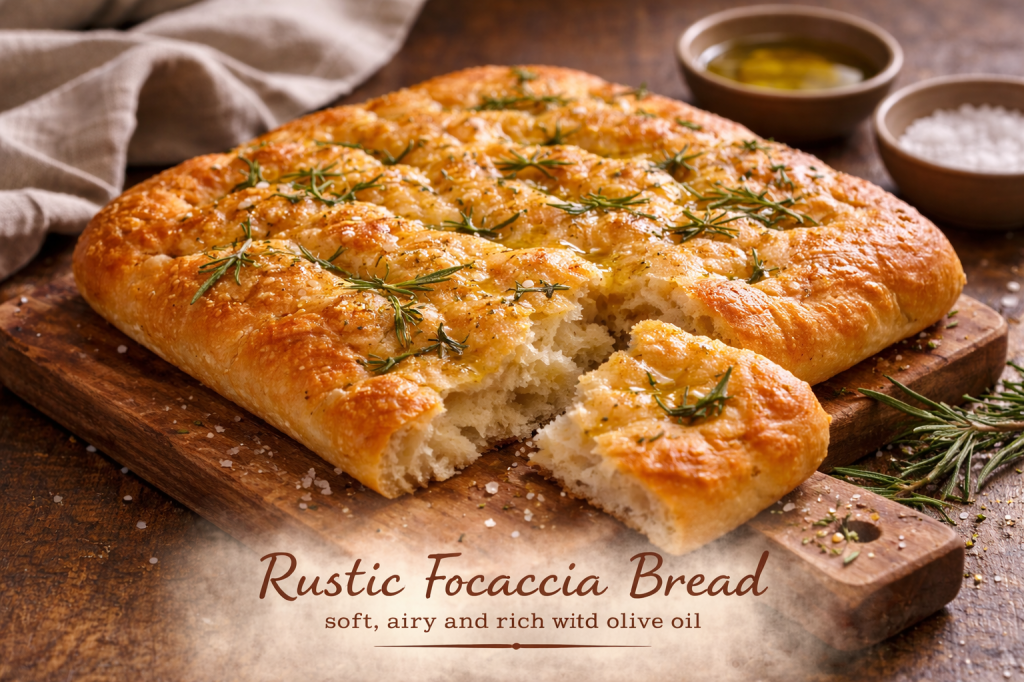
    A warm loaf meant for tearing, dipping, and sharing.

    There’s something about bread coming out of the oven that changes the mood of a kitchen.

    The smell alone is enough to make people wander in from other rooms. Someone leans against the counter. Someone else tears off a corner before it has properly cooled.

    Focaccia has always been one of the more forgiving breads. It doesn’t ask for perfection. No elaborate shaping. No delicate scoring. Just Flour, Water, Yeast, olive oil, and a few dimples pressed into the dough with your fingertips.

    It’s the kind of bread that feels alive while you’re making it.

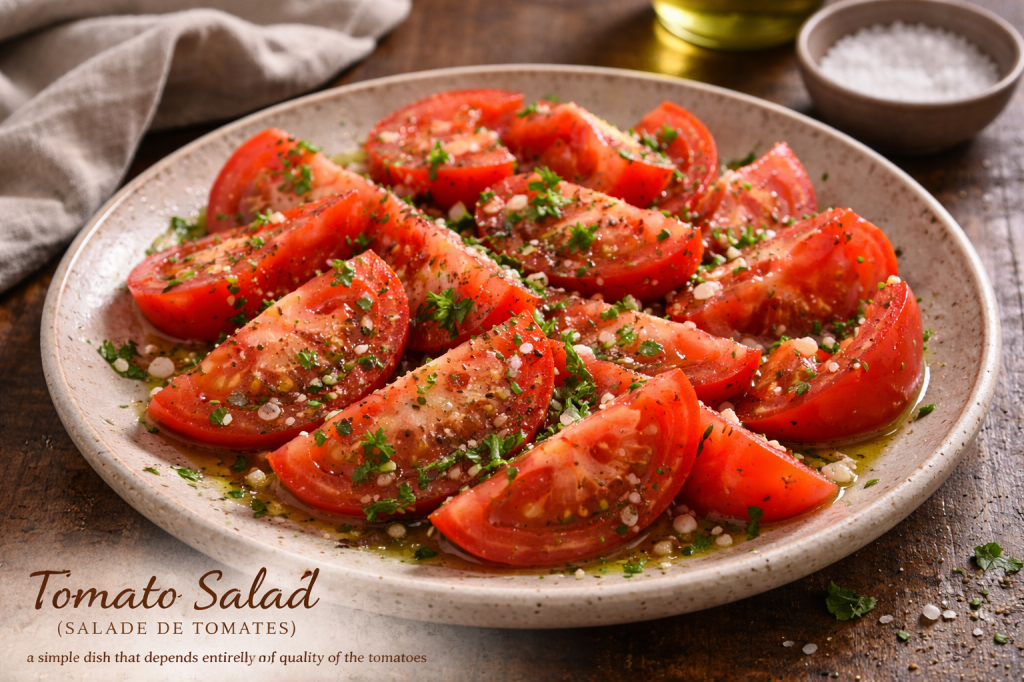
    This particular loaf pairs beautifully with a bright tomato salad or with the Tuscan chicken we shared earlier this week. Something about olive oil, tomatoes, and warm bread feels like it belongs on the same table.

    Simple ingredients.

    A hot oven.

    And a loaf of bread that’s meant to be torn apart while it’s still warm.

    Rustic Focaccia Bread

    Yield: 1 large focaccia or 2 small

    Prep Time: 50 minutes

    Cook Time: 6–10 minutes

    Ingredients

    Plain Flour — 400 g

    The bread’s foundation creates a soft interior and crisp edges.

    Warm Water — 320 ml

    Warm Water helps activate the Yeast and bring the dough together.

    Salt — 8 g

    Salt strengthens the dough and deepens the flavor.

    Sugar — 8 g

    Just enough to help the Yeast begin its work.

    Instant Yeast — 7 g (1 sachet)

    The quiet engine that lifts the dough.

    Olive Oil — 3 tablespoons (for greasing the pan)

    Creates the crisp, golden underside that makes focaccia so satisfying.

    Olive Oil — 3 tablespoons (for topping)

    Focaccia loves olive oil. Don’t be shy.

    Sea Salt — to taste

    Optional toppings

    • Fresh herbs (rosemary or thyme work beautifully)

    • Garlic granules

    Method

    1. Preheat the oven.

    Preheat your oven to 250°C (482°F).

    A hot oven is what gives focaccia its golden crust.

    2. Activate the Yeast

    In a food processor, combine:

    • warm Water
    • sugar
    • instant Yeast

    Pulse briefly until the Yeast and sugar dissolve.

    3. Form the Dough

    Add the Flour and salt to the food processor.

    Pulse until the mixture comes together into a rough dough ball.

    It doesn’t need to be perfectly smooth at this stage.

    4. First Rise

    Transfer the dough to a large bowl.

    Fold the dough over itself 3–4 times to tighten it into a compact shape.

    Cover and allow it to rise for 15 minutes.

    5. Prepare the Pan

    Pour 3 tablespoons of olive oil into a baking tray and spread it evenly to grease the surface.

    Place the dough into the tray and gently stretch it toward the edges.

    Cover and let the dough rise for another 10 minutes.

    6. Add Toppings

    Drizzle the remaining 3 tablespoons of olive oil across the surface of the dough.

    Sprinkle with:

    • sea salt
    • herbs (if using)
    • garlic granules (optional)

    Using your fingertips, press dimples across the surface of the dough.

    Those little pockets will catch the olive oil while it bakes.

    7. Final Rise

    Allow the dough to rest for 10–15 minutes.

    You’ll see it soften and puff slightly.

    8. Bake

    Place the tray into the hot oven and bake for 6–10 minutes, until the focaccia turns golden.

    The edges should be crisp while the center remains soft.

    Notes From My Kitchen

    Focaccia is best eaten warm.

    Tear it apart, dip it in the olive oil that collects in the dimples, and don’t worry too much about neat slices.

    It’s the kind of bread that belongs beside simple food.

    A plate of tomatoes.

    A pan of Tuscan chicken.

    Or just a small dish of olive oil and a quiet moment in the kitchen.

    Sometimes the simplest bread is exactly the one you need.

    Kyle J. Hayes

    kylehayesblog.com

    Please like, comment, and share

    Resources for Hard Times

    If you’re looking for practical help, food support, or community resources, you can visit the Salt, Ink & Soul Resources Page.

    👉 Resources for Hard Times

  • Tomato Salad 

    Tomato Salad 

    A bright, simple dish for warm days.

    You may ask why a salad.

    Fair question.

    Here in New Mexico, the seasons don’t really announce themselves politely. One week, the mornings still carry a little chill, the next the sun is leaning hard against the windows, and suddenly the last thing you want to do is fire up the oven and turn the house into a brick kiln. When that shift happens, a lot of us start cooking differently. We look for meals that don’t demand heat, or patience, or a sweaty kitchen. Food that’s lighter, quicker, but still delivers the flavor you’re after.

    That’s where a dish like this comes in.

    A bright tomato salad. Nothing complicated. Just good tomatoes, a little salt, olive oil, maybe a sharp whisper of shallot and vinegar. The kind of thing that reminds you that sometimes the best meals are the ones that barely require cooking at all.

    Tomorrow I’ll be posting a recipe for focaccia that goes perfectly with this — something warm to tear apart and drag through the tomato juices — and of course it pairs beautifully with the Tuscan chicken we shared earlier this week.

    Not bad for a plate of tomatoes.

    Tomato Salad 

    Serves: 4

    Ingredients

    Ripe Tomatoes — 4–6, sliced into wedges or thick slices

    This dish lives and dies by the tomatoes. Choose the ripest ones you can find.

    Shallot — 1 small, very finely minced

    A gentler cousin to the onion, adding sharpness without overpowering the tomatoes.

    Extra-Virgin Olive Oil — 2–3 tablespoons

    Good olive oil turns the tomato juices into a dressing.

    Red Wine Vinegar — 1 tablespoon

    Just enough acidity to brighten everything.

    Coarse Sea Salt — to taste

    Salt wakes the tomatoes up and draws out their natural juices.

    Freshly Ground Black Pepper

    Fresh Flat-Leaf Parsley — small handful, chopped

    Method

    1. Arrange the Tomatoes

    Lay the sliced tomatoes across a wide plate or shallow bowl.

    Give them space so their juices have somewhere to collect.

    2. Salt and Let Them Rest

    Season the tomatoes generously with sea salt.

    Let them sit for 5–10 minutes.

    During this time, the salt draws out the tomato juices, creating the beginnings of a natural dressing.

    3. Add the Shallot

    Scatter the minced shallot across the tomatoes.

    It will soften slightly as it mingles with the juices.

    4. Build the Dressing

    Add the red wine vinegar.

    Drizzle the olive oil across the salad.

    Season lightly with freshly ground black pepper.

    5. Finish

    Sprinkle the chopped parsley over the top.

    Just before serving, spoon some of the tomato juices from the bottom of the plate back over the tomatoes.

    Those juices are the best part.

    Notes From the Kitchen

    This dish rises and falls entirely on the quality of the tomatoes.

    If they are ripe, warm from the sun, and full of flavor, this salad will taste like something far greater than the sum of its parts.

    If they are not…

    No amount of olive oil will save them.

    So wait for the right tomatoes.

    They are worth it.

    Tomorrow I’ll share the rustic focaccia that belongs beside a plate of tomatoes like this — perfect for soaking up the last of that olive oil and tomato juice.

    Kyle J. Hayes

    kylehayesblog.com

    Please like, comment, and share

    Resources for Hard Times

    If you’re looking for practical help, food support, or community resources, you can visit the Salt, Ink & Soul Resources Page.

    👉 Resources for Hard Times

  • Rice Pudding

    Rice Pudding

    A Quiet Recipe from Memory

    I don’t remember my mother making rice pudding.

    I remember my grandmother’s.

    It was simple in the way only practiced hands can manage — milk, rice, time — and somehow complex enough to take me straight back to childhood with a single spoonful. This is one of those dishes where the old saying still holds: if it isn’t broken, don’t fix it. The recipe doesn’t ask for reinvention. It asks for patience.

    So I share it this way.

    Have a small bowl.

    Take a spoonful.

    Close your eyes.

    Let it take you back.

    Why This Recipe Endures

    • Few ingredients
    • Slow heat
    • No shortcuts

    Rice pudding doesn’t reward impatience.

    It rewards attention.

    Recipe Details

    Serves: 4–6

    Prep Time: 5 minutes

    Cook Time: 40–45 minutes

    Total Time: About 45 minutes

    Ingredients

    • ½ cup long-grain white rice
    • 4 cups whole milk
    • ⅓ cup granulated sugar
    • Pinch of salt
    • 1 tsp vanilla extract
    • ½ tsp ground cinnamon
    • Optional:
      • Pinch nutmeg
      • Raisins
      • Lemon peel strip (removed before serving)

    Instructions

    1. Begin with patience

    In a heavy-bottomed saucepan, combine:

    • rice
    • milk
    • sugar
    • salt

    Bring to a gentle simmer over medium heat, stirring occasionally to prevent sticking.

    2. Cook slowly

    Lower the heat and cook uncovered, stirring every few minutes, for 35–45 minutes.

    The milk should thicken gradually.

    The rice should soften fully.

    Nothing should rush.

    3. Finish quietly

    Once the pudding is thick and spoonable, remove from the heat.

    Stir in:

    • vanilla
    • cinnamon
    • nutmeg or raisins, if using

    Taste. Adjust sweetness only if needed.

    To Serve

    Serve warm or cold.

    Plain, or with a light dusting of cinnamon.

    Rice pudding doesn’t need dressing up.

    It only asks to be remembered.

    Notes

    • If the pudding thickens too much, loosen it with a splash of warm milk
    • Texture should be creamy, not stiff
    • keeps well refrigerated for 3–4 days

    This is not a dessert meant to impress.

    It’s a dessert meant to return you to the past.

    Kyle J. Hayes

    kylehayesblog.com

    Please like, comment, and share

    Resources for Hard Times

    If you’re looking for practical help, food support, or community resources, you can visit the Salt, Ink & Soul Resources Page.

    👉 Resources for Hard Times

    Other Recommendations:

    • Sweet Cornmeal Pancakes with Honey Butter
    • Bread Pudding
    • The Most Basic Bread Recipe