A Cold Sweet Mercy
Some desserts are built for relief.
Not the loud kind. Not the kind that needs fire, timing, layers, or faith in an oven. Just something cold, bright, sweet, and simple enough to make the day feel a little less heavy.
That is what this No-Bake Lemon Icebox Pie is here to do.
After the heat of the Green Chile Chicken Melt on Focaccia, and the brightness of the Corn, Tomato, and Cucumber Salad, the week needs something cool at the end. Something that does not ask much from you. Something that waits in the refrigerator and improves with time because you gave it time.
This pie is simple.
Graham cracker crust. Sweetened condensed milk. Lemon juice. Lemon zest. Whipped topping or whipped cream. A little patience.
That is it.
No oven. No complicated crust. No scratch cake drama. Just a pie that sits in the cold and gives back something clean, sharp, creamy, and kind.
It tastes like summer without having to make a speech about summer.
It tastes like somebody opened the refrigerator after dinner and remembered there was still one good thing waiting.
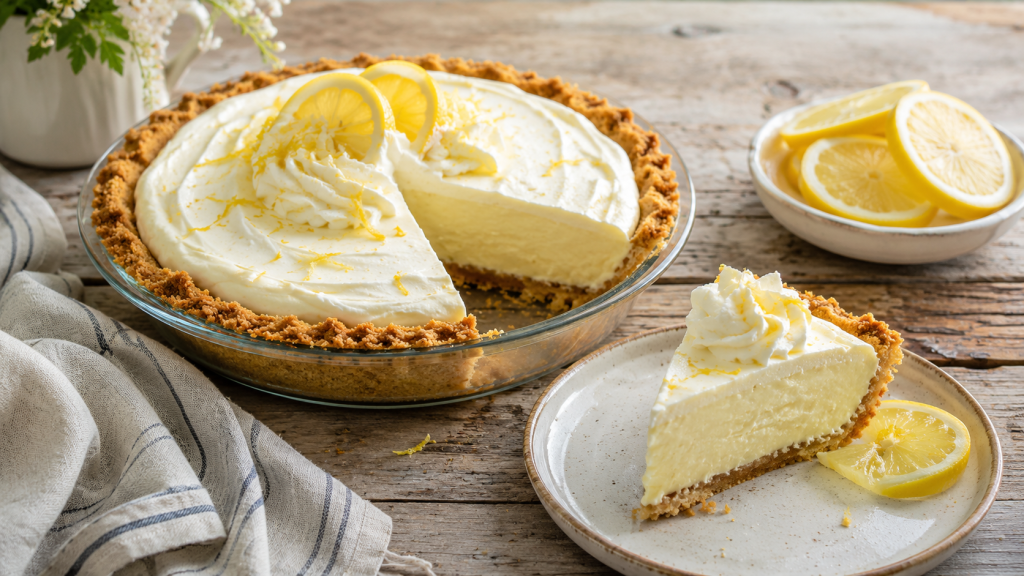
No-Bake Lemon Icebox Pie
Ingredients
- 1 prepared graham cracker crust
- 1 can sweetened condensed milk, 14 ounces
- ½ cup fresh lemon juice
- 1 tablespoon lemon zest
- 1 teaspoon vanilla extract
- 1 container whipped topping, 8 ounces, thawed
- or 2 cups homemade whipped cream
- Pinch of salt, optional
- Extra lemon zest or whipped cream, for topping
Method
1. Make the lemon filling
In a large bowl, whisk together the sweetened condensed milk, lemon juice, lemon zest, vanilla, and a small pinch of salt if using.
The mixture will begin to thicken as the lemon juice meets the condensed milk.
Let it happen.
Some things do not need force. They just need the right conditions.
2. Fold in the whipped topping
Gently fold in the whipped topping or whipped cream.
Do not beat it hard. You want the filling smooth and light, not tired.
Fold until everything is combined and no large streaks remain.
3. Fill the crust
Spoon the lemon filling into the graham cracker crust.
Smooth the top with a spatula.
It does not have to be perfect. A few soft waves on top look more human anyway.
4. Chill
Cover the pie and refrigerate for at least 4 hours, or overnight if possible.
The longer it chills, the better it sets.
This is the rare dessert that rewards waiting.
5. Garnish and serve
Before serving, add extra lemon zest, whipped cream, or a few thin lemon slices to finish it.
Slice cold and serve straight from the refrigerator.
Notes From My Kitchen
Fresh lemon juice is best here. Bottled lemon juice will work in a pinch, but fresh lemon gives the pie its brightness.
The Graham cracker crust can be store-bought. There is no shame in that. This dessert is about ease.
If you want a firmer pie, freeze it for 1 to 2 hours before serving. It will slice cleaner and feel almost like a frozen lemon cream pie.
For more lemon flavor, add extra zest. For more sweetness, add a little more whipped topping.
A pinch of salt helps balance the sweetness.
If using homemade whipped cream, make sure it is whipped to medium peaks before folding it into the lemon mixture.
What to Serve With It
This pie closes the week’s Salt, Ink & Soul arc.
The Green Chile Chicken Melt on Focaccia brought the heat.
The Corn, Tomato, and Cucumber Salad brought the brightness.
This No-Bake Lemon Icebox Pie brings the relief.
Cold. Sweet. Simple. Kind.
Read more recipes and reflections at Salt, Ink & Soul.
Please like, comment, and share
Resources for Hard Times
If you’re looking for practical help, food support, or community resources, you can visit the Salt, Ink & Soul Resources Page.